In real estate, buyers often form their first impression of a property before they ever visit it.
Today, that first impression is usually created through a photograph, video, drone shot, Instagram Reel, virtual tour, or property listing. This makes professional real estate photography and videography more than just a marketing expense—it is a powerful sales tool.
If you are a builder, developer, real estate agent, or property marketer, how you shoot your project can directly influence how quickly potential buyers understand, trust, and enquire about it.
Here are the key techniques to shoot real estate projects in a way that helps them sell faster.
1. Shoot the Property, Not Just the Building
One of the biggest mistakes in real estate photography is focusing only on the building façade.
Buyers aren’t simply purchasing walls and windows. They are buying a lifestyle, location, convenience, comfort, and future.
Your visual content should therefore capture:
- The entrance and façade
- Living and dining spaces
- Bedrooms
- Kitchens
- Bathrooms
- Balconies and views
- Clubhouse
- Swimming pool
- Gym
- Children’s play areas
- Landscaped gardens
- Parking
- Security features
- Common areas
- Nearby roads and important landmarks
The objective is to help a potential buyer imagine living there.
2. Get the Hero Shot Right
Every project needs a powerful hero image—the photograph or video frame that immediately communicates what the property is about.
For a residential project, this could be:
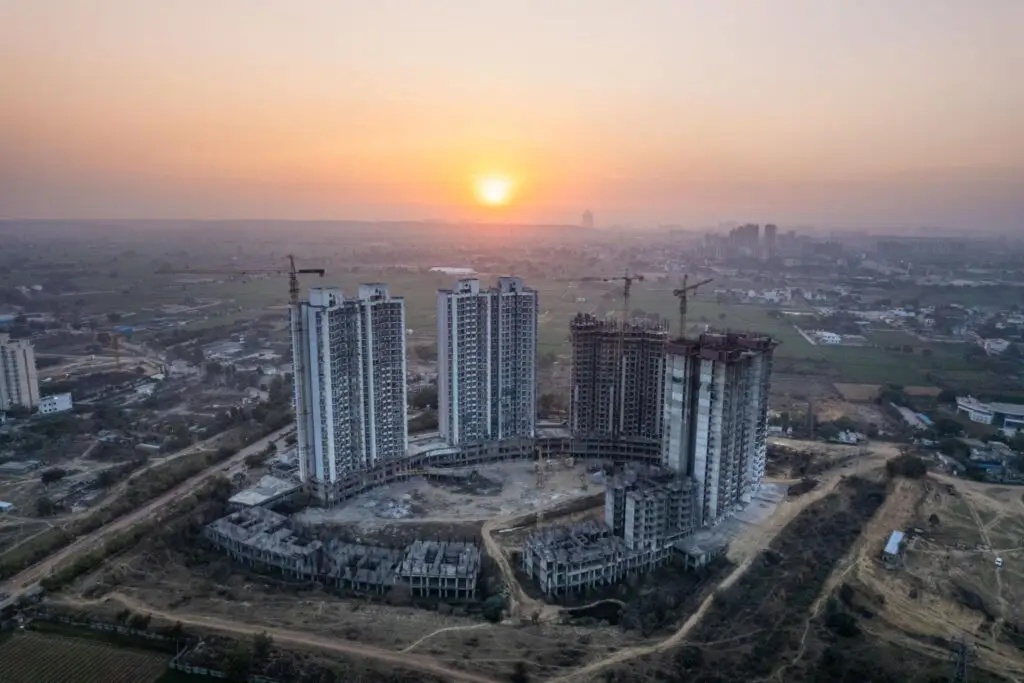
- A beautifully composed exterior shot at sunset
- The building surrounded by landscaped greenery
- A premium apartment interior with a city view
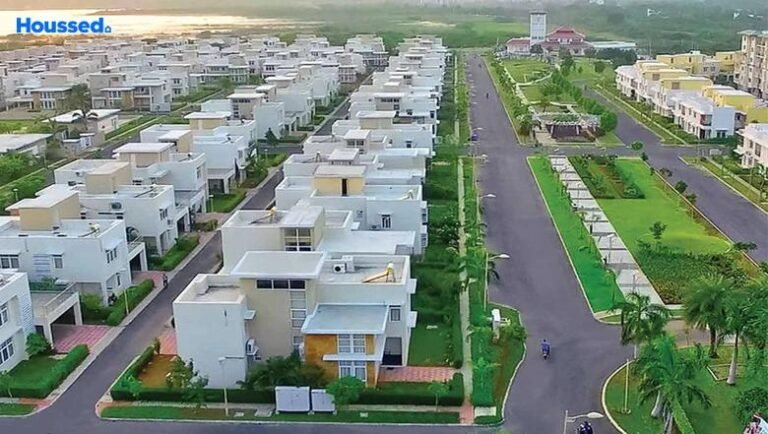
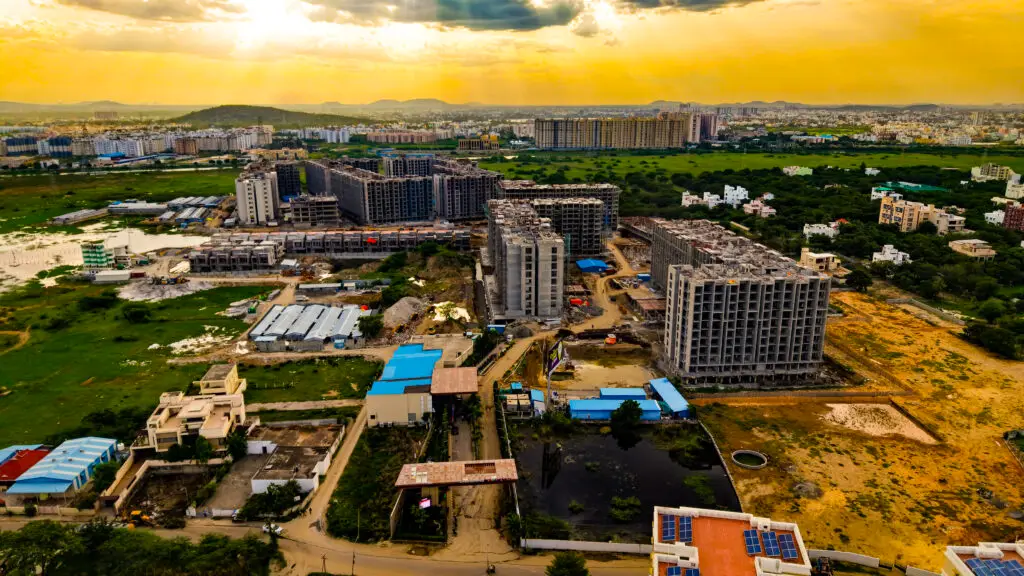
- A drone shot showing the entire development
The hero shot is often used on websites, brochures, advertisements, social media and property portals, so it deserves extra attention.
3. Use the Right Time of Day
Lighting can completely change the appearance of a property.
For exterior photography, the golden hour—shortly after sunrise or before sunset—can create a warm and premium appearance.
For interiors, use natural daylight wherever possible.
Avoid shooting important photographs under harsh midday sunlight unless the scene specifically requires it.
A good production schedule could include:
Morning:
Exterior, landscape and surrounding-location shots.
Daytime:
Interiors, amenities and common areas.
Evening:
Façade, landscape lighting, clubhouse and lifestyle shots.
Blue hour:
Premium exterior photographs with interior lights switched on.
4. Make Small Spaces Look Bigger—Without Misleading Buyers
Wide-angle lenses can make interiors appear spacious and inviting.
However, excessive wide-angle distortion can make a room look unrealistic.
The goal should be to show the property at its best while maintaining an accurate representation of the actual space.
Keep vertical lines straight, avoid extreme distortion, and choose camera positions that naturally showcase the room.
Good photography creates interest. Misleading photography creates disappointment.
5. Shoot From the Buyer’s Eye Level
Camera height matters.
For most interiors, shooting around natural eye level creates a realistic perspective that helps viewers understand the room.
Instead of pointing the camera randomly around the space, think about what a person would see when they actually enter the room.
Ask:
“If I were the buyer standing here, what would I want to see?”
This simple approach can dramatically improve property photography.
6. Use Drone Photography to Sell the Location
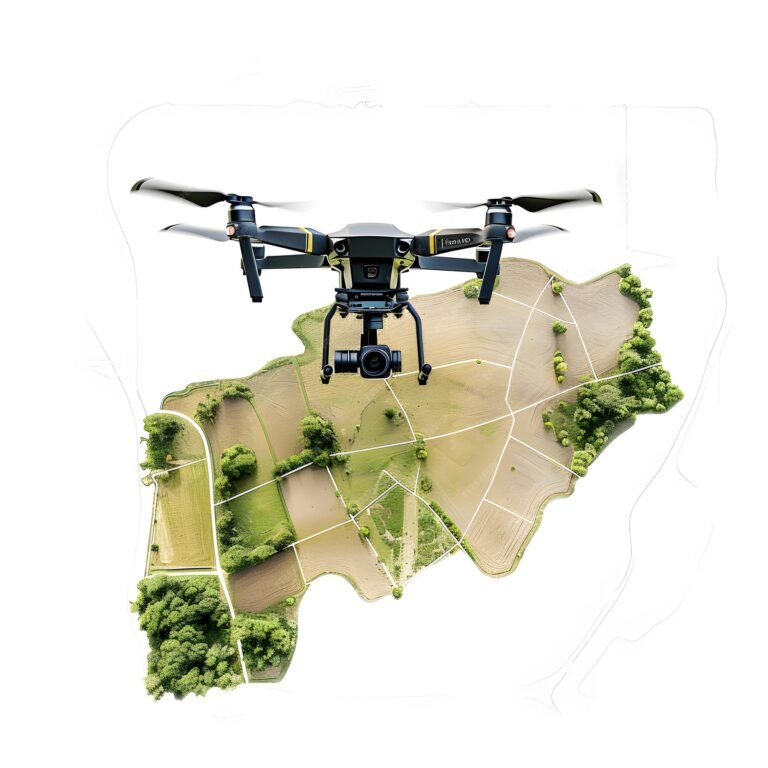
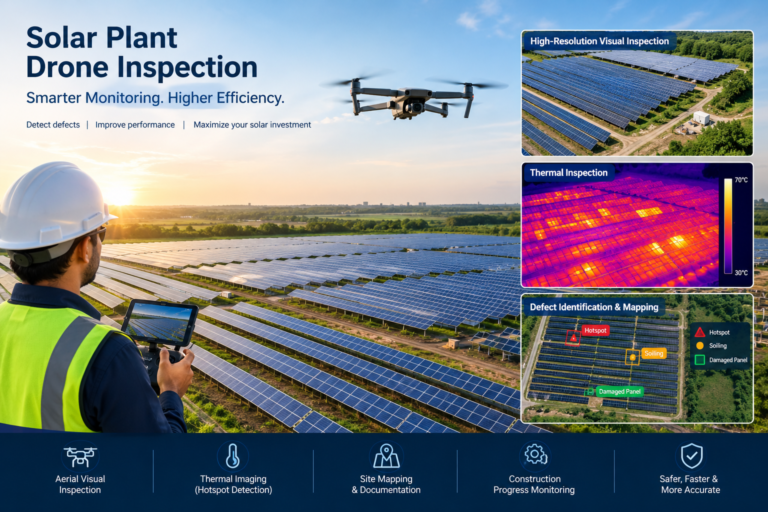
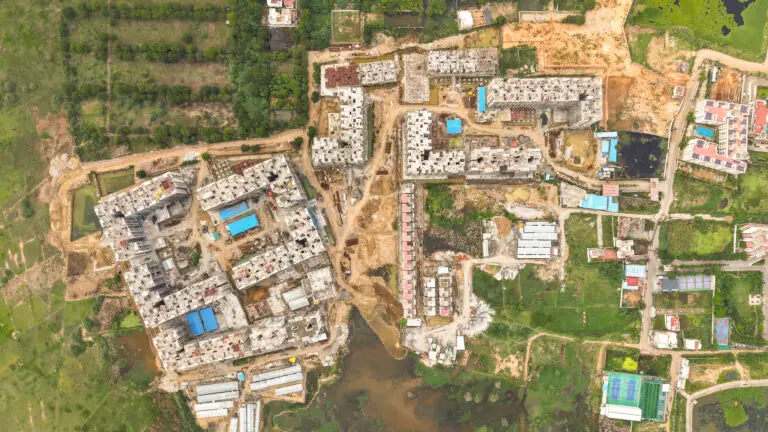
Aerial photography is particularly powerful for large developments.
A drone can show things that ground-level photography cannot:
- Project scale
- Road connectivity
- Surrounding neighbourhood
- Nearby schools and hospitals
- Parks and green spaces
- Distance from major roads
- Overall master plan
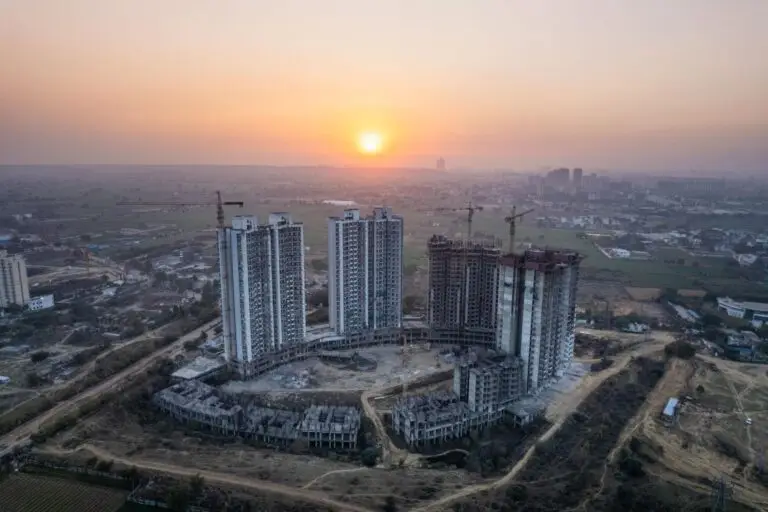
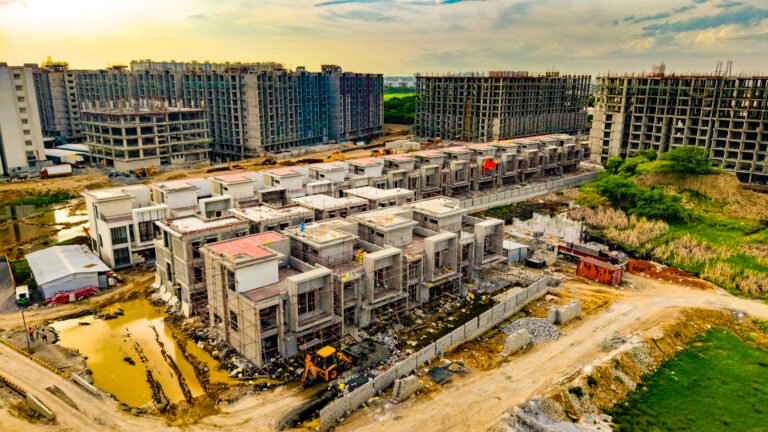
- Construction progress
For a plotted development or large residential community, aerial video can communicate the project’s scale within seconds.
Make sure drone operations comply with applicable aviation and local regulations.
7. Don’t Ignore the Location
A beautiful apartment in an unknown location can still struggle to generate enquiries.
Shoot the neighbourhood and connectivity as part of the project story.
For example:
Project → Main Road → Metro/Transport → School → Hospital → Shopping → Business District
This gives buyers a better understanding of the property’s real-world convenience.
Location-focused visuals can be particularly effective in short-form videos.
8. Create a Property Video With a Story
Don’t simply create a 2-minute video showing rooms one after another.
Build a story.
For example:
Opening:
Aerial view of the location.
10–20 seconds:
Project entrance and exterior.
20–40 seconds:
Living room, kitchen and bedrooms.
40–60 seconds:
Amenities and lifestyle.
60–75 seconds:
Location and connectivity.
Final:
Project name + key proposition + enquiry call-to-action.
The viewer should understand what the project is, who it is for, what makes it different, and how to enquire.
9. Shoot Vertical Video for Social Media
Real estate marketing is no longer limited to brochures and property portals.
Instagram Reels, YouTube Shorts and other vertical-video platforms can generate significant attention.
Shoot dedicated 9:16 vertical footage rather than simply cropping a horizontal video.
Capture short clips such as:
- Entrance reveal
- Balcony view
- Kitchen details
- Clubhouse
- Pool
- Landscaping
- Bedroom walkthrough
- Drone reveal
- Evening façade
These clips can later be edited into multiple pieces of content.
10. Capture Details That Communicate Quality
Wide shots show the property.
Close-ups communicate quality.
Photograph details such as:
- Door handles
- Kitchen finishes
- Countertops
- Flooring
- Lighting
- Bathroom fittings
- Wardrobes
- Architectural details
- Landscaping
- Clubhouse interiors
These details are especially important for premium and luxury developments.
11. Shoot Before-and-After Construction Content
For projects under construction, don’t wait until completion to start creating visual content.
Document the development journey.
You can create:
Foundation → Structure → Construction Progress → Interiors → Landscaping → Final Project
Progress videos can build trust and keep potential buyers engaged throughout the construction period.
Time-lapse photography can also create highly engaging content.
12. Add People to Lifestyle Shots
An empty property can sometimes feel lifeless.
Lifestyle photography can help viewers understand how spaces are intended to be used.
For example:
- A family using the living room
- Someone working from a balcony
- Children enjoying a play area
- Residents using the clubhouse
- People walking through landscaped spaces
The focus should remain on the property, while the people provide context and scale.
For privacy and consent, ensure anyone identifiable in promotional content has appropriate permission.
13. Shoot Different Content for Different Sales Stages
One shoot should produce more than just 10 photographs.
A well-planned production can generate:
Website:
Hero images + detailed gallery
Property portals:
Accurate room and exterior photographs
Instagram:
Reels + carousels
YouTube:
Property walkthrough + project film
Google/Maps:
Location and exterior visuals
Paid advertising:
Short videos and attention-grabbing images
WhatsApp:
Compact property videos and image sets
This turns one production day into a complete content library.
14. Plan the Shoot Before You Arrive
Professional results start before the camera comes out.
Prepare a shot list covering:
Exterior
- Front elevation
- Entrance
- Landscaping
- Parking
- Night view
- Drone view
Interiors
- Living room
- Dining area
- Kitchen
- Bedrooms
- Bathrooms
- Balcony
- Views
Amenities
- Clubhouse
- Pool
- Gym
- Play area
- Gardens
- Sports facilities
Location
- Main roads
- Connectivity
- Nearby landmarks
- Neighbourhood
Video
- Wide shots
- Walkthroughs
- Detail shots
- Lifestyle shots
- Drone footage
- Vertical clips
A detailed shot list prevents important marketing assets from being missed.
15. Think Like a Marketer, Not Just a Photographer
The ultimate goal isn’t to create beautiful photographs.
The goal is to create content that generates enquiries.
Every visual should answer one of these questions:
What does it look like?
What does it feel like?
Where is it?
What makes it different?
Why should I consider buying it?
When photography, videography and marketing strategy work together, the property becomes much easier to sell.
Final Thoughts
Real estate buyers don’t experience a project only through physical site visits anymore. They experience it first through their screens.
That means your photographs and videos need to do more than document a property—they need to create interest, communicate value and motivate the viewer to take the next step.
At MyDigitalBrand, we believe real estate visual content should be created with the sales journey in mind—from the first Instagram impression to the final site visit.
Shoot better. Tell the story. Showcase the lifestyle. Make the property easier to choose.