Real Estate Photographs
Most buyers see a property online before they ever visit. The first photo decides whether they keep scrolling or call. Sharp, bright, well-composed images get more clicks, more enquiries and faster sales.
This guide covers what to shoot, how to shoot it, and how to present it, whether the property is a flat, a villa or an open plot.
1. Prepare the Property Before You Shoot
A good photo starts before the camera comes out.
Interiors
- Clear counters, tables and floors of clutter
- Turn on all lights, and replace dead bulbs
- Open curtains for natural light
- Straighten furniture, cushions and bedsheets
- Close toilet lids and remove bins, towels and personal items
Exteriors
- Sweep the entrance and clean the gate and name board
- Trim plants and clear garbage
- Park vehicles out of frame
- Remove temporary items like ladders and construction waste
Plots and layouts
- Mark boundary stones clearly
- Clear weeds along visible boundaries
- Place a small flag or banner at corners for aerial shots
2. Equipment You Need
| Item | Why it matters |
|---|---|
| Camera or a good smartphone | Sharp, high-resolution images |
| Wide-angle lens (16-24 mm full frame, or 0.5x on phones) | Makes rooms look spacious without heavy distortion |
| Tripod | Sharp images and straight verticals |
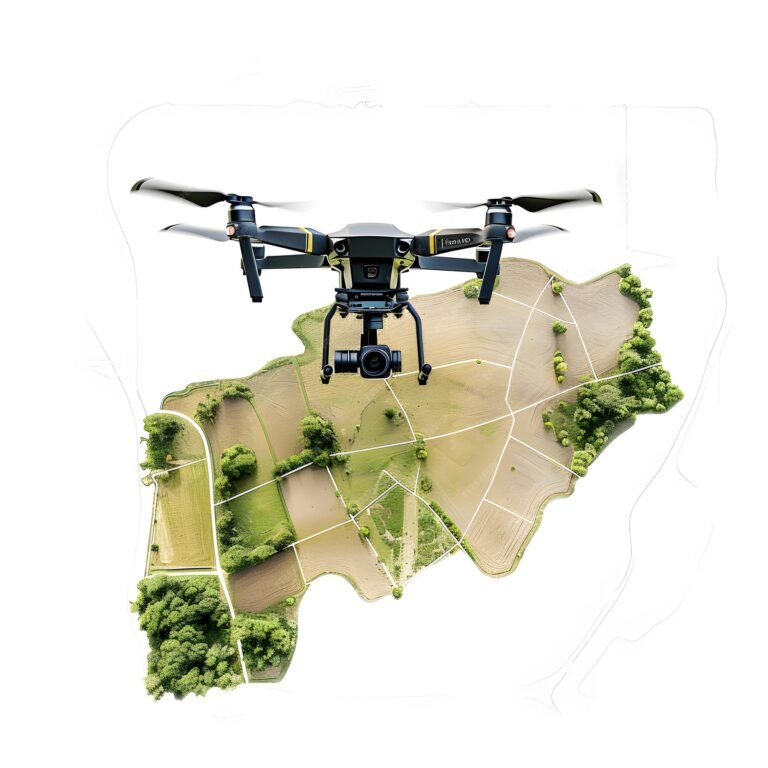
| Drone | Aerial views of plots, layouts and surroundings |
| Reflector or external flash (optional) | Balances dark corners |
| Lens cloth | Clean lens means clean photos |
3. Best Camera Settings for Real Estate Photographs
- Mode: Aperture priority (A/Av) or manual
- Aperture: f/8 to f/11 for sharpness from front to back
- ISO: 100-400 (use a tripod instead of raising ISO)
- White balance: Set manually, since mixed lighting causes color casts
- Format: Shoot RAW if possible for better editing
- Bracketing: Take 3 exposures (HDR) in rooms with bright windows
On a phone, use the HDR option, lock focus and exposure by tapping the screen, and keep the grid on.
4. Master the Lighting
- Interiors: Shoot in the daytime with lights on and curtains open. Avoid mixing warm bulbs and cool daylight in one frame.
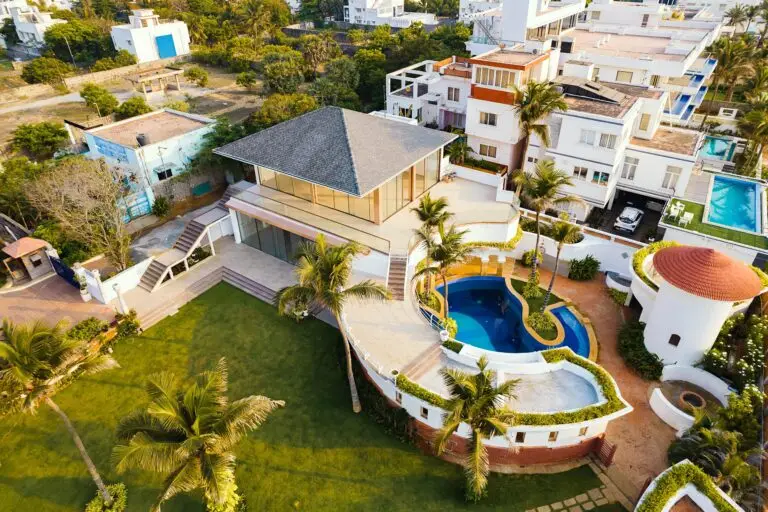
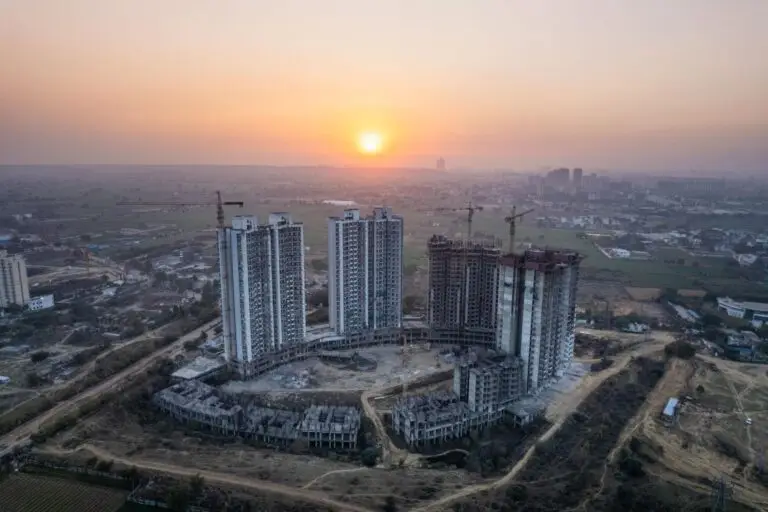
- Exteriors: Shoot in the first two hours after sunrise or the last two before sunset, when light is soft and warm.
- Twilight shots: Shoot 15-20 minutes after sunset with interior lights on for a premium look.
- Avoid harsh noon sun. It creates hard shadows and washed-out skies.
5. Composition Rules That Work
- Keep verticals straight. Tilted walls look unprofessional.
- Shoot from chest height (about 1.2-1.5 m) for natural proportions.
- Stand in corners to capture more of the room.
- Show depth by including foreground, middle and background.
- Use leading lines such as roads, hallways and fences.
- Shoot horizontally for listings and websites. Use vertical shots for Instagram stories.
- Show the room’s purpose. Include the bed, dining table or sofa so buyers understand the space.
6. The Shot List: What to Capture for Real Estate Photographs
Every property
- Front exterior (main hero image)
- Living room, from two angles
- Kitchen
- Each bedroom
- Bathrooms
- Balcony, terrace or garden
- Parking and common areas
- Unique features such as a staircase, pooja room or view
Plots and layouts
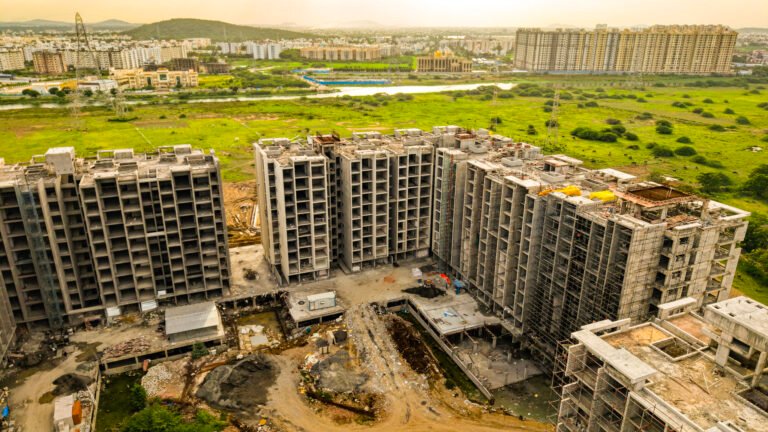
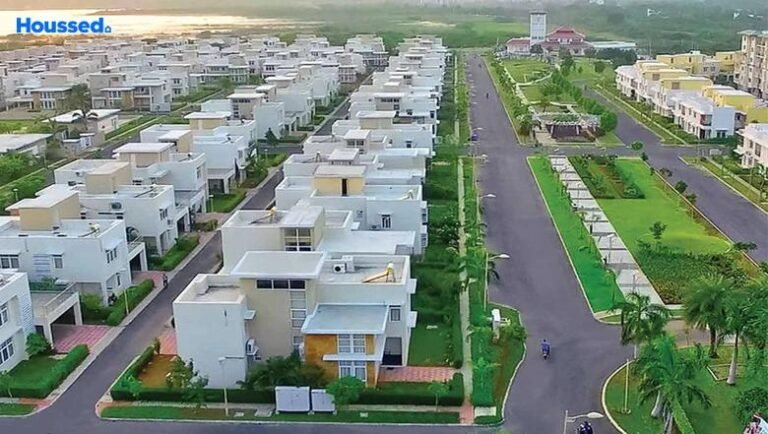
- Drone top-down shot of the full layout
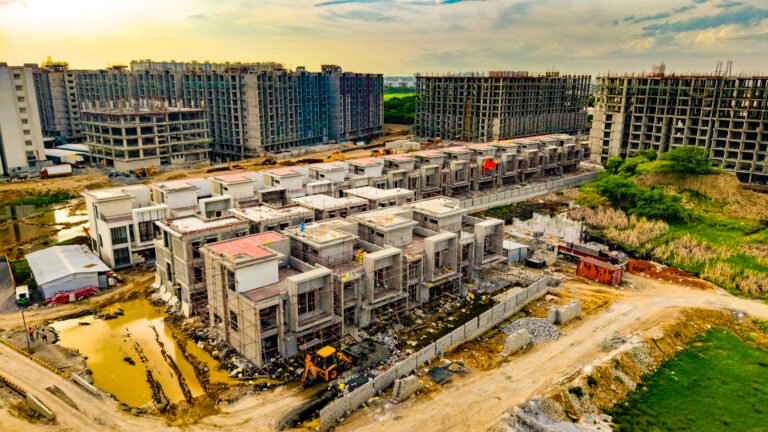
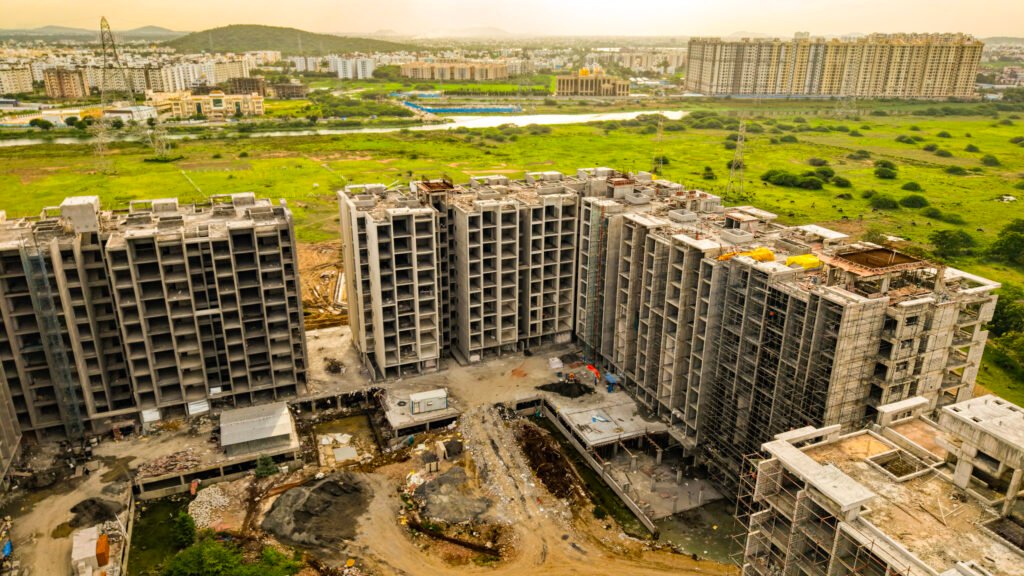
- Angled aerial shot (45°) showing roads and surroundings
- Entrance and internal road views
- Nearby landmarks such as schools, highways and temples
- Ground-level shot from the plot corner
7. Add Drone Photography for Real Estate Photographs
Aerial photos show what ground photos cannot: plot size, road access and neighborhood. Shoot at 30-60 m for the layout, then lower for detail shots, and always keep the sun behind or beside you.
Check airspace rules and register your drone on the Digital Sky Platform before flying. For tips on turning aerial footage into search traffic, read our guide on drone shoot keywords.
8. Edit Without Over-Editing
Edit for accuracy, not fantasy. Misleading photos hurt trust and waste visits.
- Correct exposure, white balance and verticals
- Increase brightness and clarity slightly
- Remove small distractions such as wires and stains
- Avoid heavy filters and fake sky replacement on exteriors
- Use tools like Adobe Lightroom or free options like Snapseed
Export at 2000-2500 px on the long edge, compressed for fast loading.
9. Publish Photos So They Get Found
- File names:
3bhk-villa-cheyyar-living-room.jpg, notIMG_2045.jpg - Alt text: describe the image clearly, for example “spacious living room in a 3BHK villa in Cheyyar”
- Compress images so pages load quickly on mobile
- Follow Google’s guidance in image best practices
- Upload to your Google Business Profile and listing sites
10. Go Beyond Static Photos
Photos attract attention, but interactive tools close sales. For open plots and layouts, let buyers click a plot and see its details directly on the map using the Google Maps plot overlay. Add a 360° view so they can explore the surroundings from home.
Quick Pre-Shoot Checklist
- Property cleaned and decluttered
- Battery charged and memory card empty
- Lens cleaned
- Shot list ready
- Lights on, curtains open
- Tripod and wide lens packed
- Drone permissions checked
- Best time of day planned
Conclusion
Perfect real estate photographs come from preparation, natural light, straight and wide compositions, and honest editing. Add drone views for plots and publish with proper file names and alt text, and your listings will look professional and rank better.
Need professional property photos, drone shoots or interactive plot viewers? Contact MyDigitalBrand to market your properties better.